

HomePod Showing “Network Issue” After iOS 26? Here’s How to Fix It.
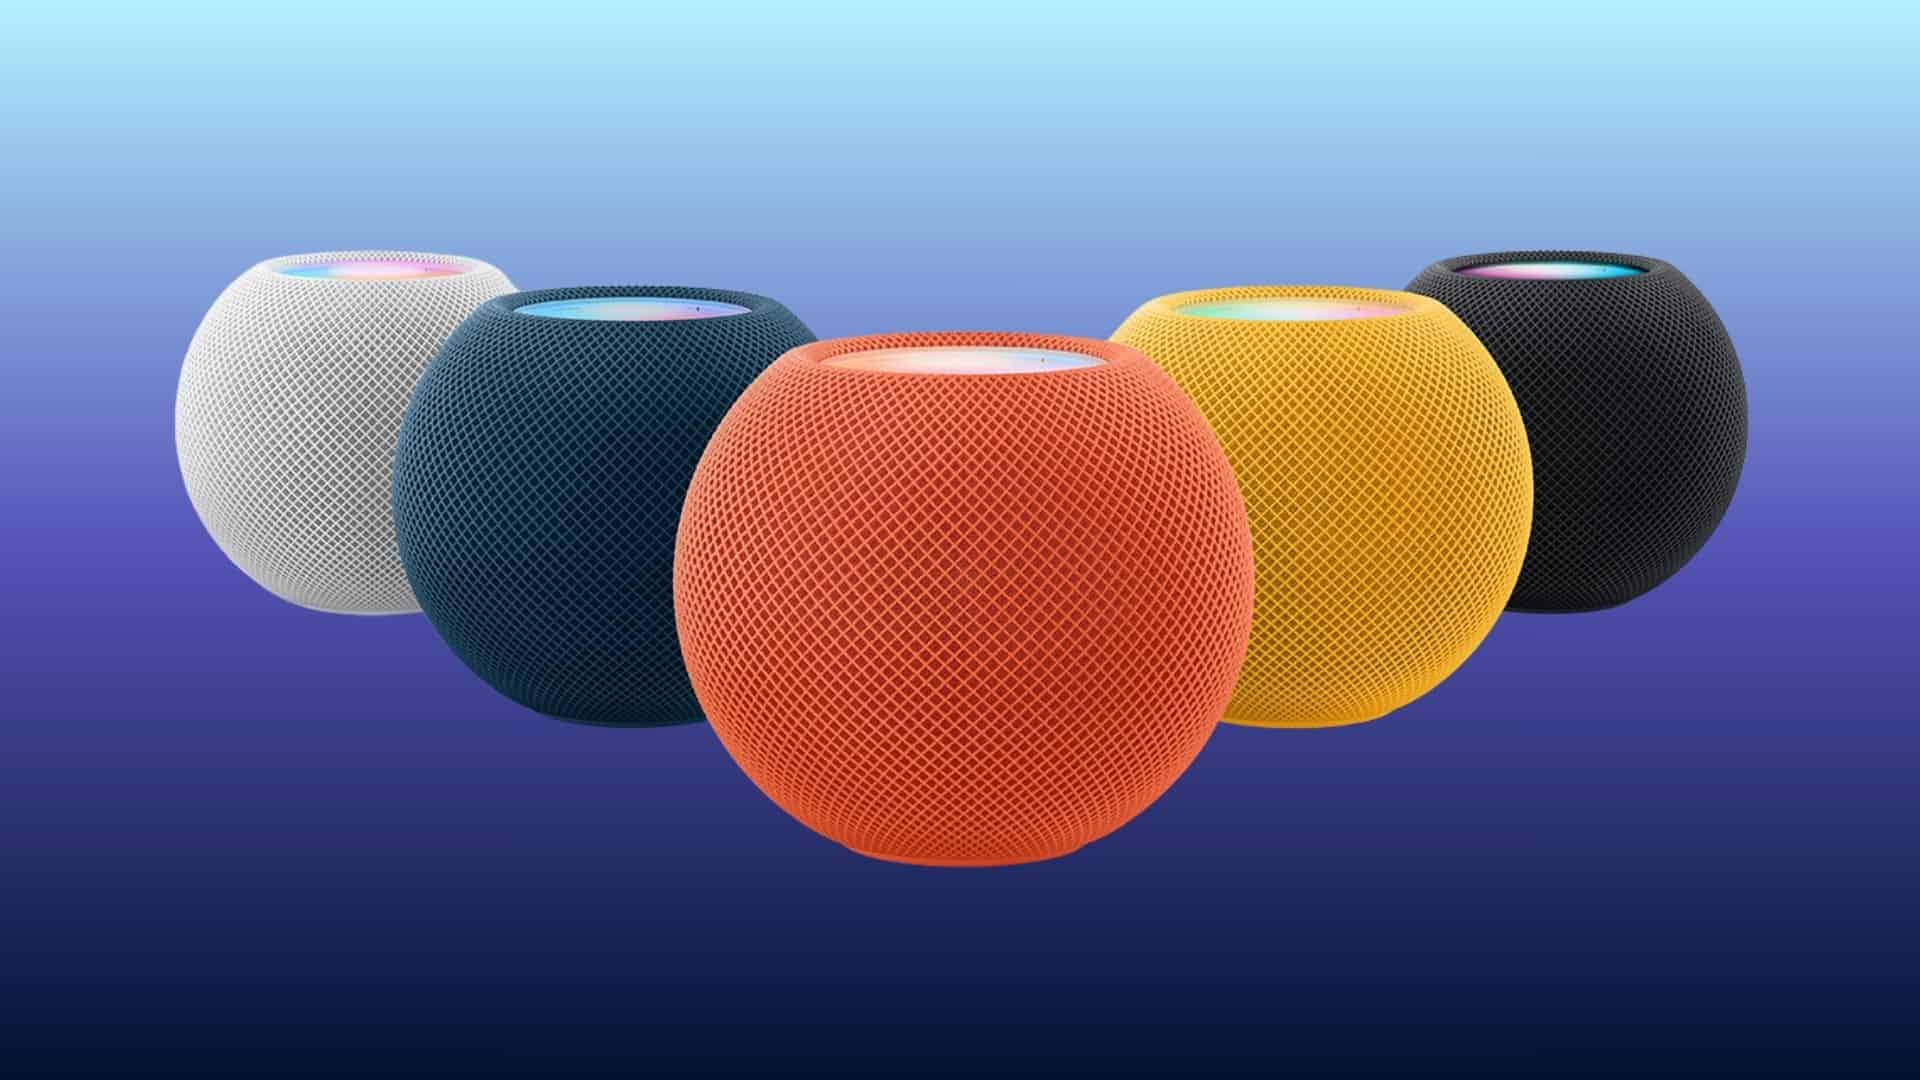
Is your HomePod displaying a frustrating “Network Issue” or “No Internet” error after updating to iOS 26? This is a common problem, often caused by communication glitches between the update, your Wi-Fi network, and your iPhone.
The good news is that you can usually resolve it yourself in a few minutes. Follow this step-by-step guide to get your HomePod back online.
Step 1: The Essential Restarts (Do This First)
Often, a simple reboot cycle is all it takes to clear temporary software hiccups.
-
Restart Your HomePod: Unplug it from power for 30 seconds, then plug it back in.
-
Restart Your Router and Modem: Unplug both, wait 30 seconds, plug your modem in first, wait for it to fully connect, then plug your router back in.
-
Restart Your iPhone: A quick reboot ensures it’s not contributing to the communication problem.
Step 2: Check for a “Network Mismatch”
After an iOS update, your HomePod and iPhone can sometimes end up on different Wi-Fi networks, especially if you have both 2.4GHz and 5GHz bands.
-
Open the Home app on your iPhone.
-
Tap on your HomePod.
-
Scroll down and check the Wi-Fi Network section.
-
If you see a “Network Mismatch” alert, tap “View Details” and follow the prompts to move your HomePod to the same network as your iPhone.
Step 3: Verify Wi-Fi Signal Strength
A weak signal can cause intermittent “Network Issue” errors.
-
In the Home app, tap your HomePod and check the Wi-Fi Network section for a signal strength indicator.
-
If it shows only one or two bars, your HomePod is too far from the router. Move it closer to improve the connection and eliminate interference from walls or other electronics.
Step 4: Review Your Router’s Advanced Settings
If the simple steps fail, the issue might be with your router’s configuration.
-
Disable Client Isolation / AP Isolation: This setting prevents devices on the same Wi-Fi from talking to each other, which breaks HomeKit. Ensure it is turned off.
-
Check for Double NAT: If you have two routers (e.g., a modem/router combo and another router), this can cause conflicts. Enable “Bridge Mode” on one of them to resolve it.
-
Allow Multicast & Peer-to-Peer Traffic: HomeKit relies on this for device discovery. Make sure these features are enabled in your router’s settings.
-
Use a Reliable DNS: Try changing your router’s DNS to a public service like Google DNS (8.8.8.8) or Cloudflare (1.1.1.1).
Step 5: Reset and Re-pair Your HomePod
As a last resort, you can reset the HomePod and add it back to your home.
-
Unplug the HomePod.
-
Plug it back in, then immediately touch and hold the top of the HomePod.
-
Keep holding until the white spinning light turns red and you hear three beeps.
-
Release your finger. The HomePod will reset.
-
Open the Home app on your iPhone and tap the “+” button to add the HomePod again as a new accessory.
Summary: Troubleshooting Checklist
| Problem | Likely Solution |
|---|---|
| Temporary glitch after update | Restart HomePod, Router, and iPhone. |
| HomePod and iPhone on different networks | Fix the “Network Mismatch” in the Home app. |
| Weak Wi-Fi signal | Move the HomePod closer to the router. |
| Router blocking communication | Disable Client Isolation and allow Multicast. |
| Persistent connection failure | Reset the HomePod and re-pair it. |
By methodically working through these steps, you can almost certainly resolve the “Network Issue” on your HomePod and restore its smart functionality.


