HomePod Mini Not Setting Up: How to Fix Common Pairing Issues
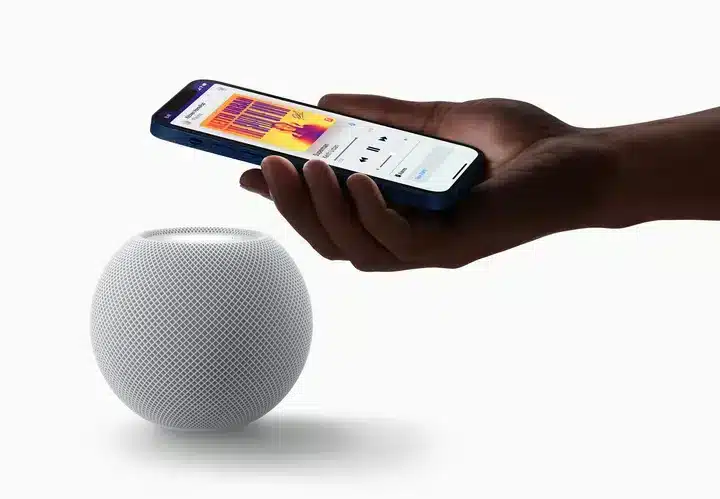
When your HomePod Mini fails to set up or pair, the issue is typically rooted in connectivity (Bluetooth or Wi-Fi) or iCloud configuration. These problems are common but usually straightforward to diagnose and fix. Follow this step-by-step guide to resolve pairing issues and complete the setup successfully.
Prerequisites: Verify Setup Requirements
Before troubleshooting, confirm these essential conditions are met on your iPhone or iPad:
-
Latest iOS/iPadOS: Ensure your device is updated.
-
Bluetooth & Location: Bluetooth and Location Services must be enabled.
-
Wi-Fi Network: Be connected to a standard 2.4GHz or 5GHz Wi-Fi network that allows device-to-device communication (peer-to-peer). Public or guest networks often block this.
-
iCloud Account: Be signed into iCloud with Two-Factor Authentication and iCloud Keychain enabled.
-
HomePod Mini Status: The speaker should be plugged in and display a pulsing white light, indicating it’s in setup mode. A solid or flashing orange light means a reset or restore is needed.
Step-by-Step Troubleshooting
Work through these solutions in order.
1. Resolve Network Conflicts
Network problems are a leading cause of setup failure.
-
Restart Your Router: Unplug your router and modem for 30 seconds, then restart them.
-
Disable VPN: Turn off any VPN on your iPhone temporarily, as it can block the local pairing process.
-
Check Router Settings: Ensure features like Client Isolation, AP Isolation, or a Guest Network are disabled, as they prevent device discovery.
2. Reset the HomePod Mini
If the device is unresponsive or stuck, a reset clears its configuration.
-
Physical Reset: Unplug the HomePod Mini, wait 5 seconds, and plug it back in. When the white light appears, press and hold the top until the light turns red and you hear three beeps. Release to initiate the reset.
-
Reset via Home App: If the speaker was previously added, open the Home app, long-press its tile, tap Settings (gear icon), scroll down, and select Reset HomePod.
3. Restore Firmware Using a Mac (Advanced Fix)
For persistent software glitches or an orange light, a full restore is necessary.
-
Connect the HomePod Mini to a Mac using a USB-C to USB-C cable.
-
Open Finder. The HomePod will appear under Locations.
-
Select it and click Restore. This reinstalls the operating system.
-
Once complete, attempt setup again as if it were a new device.
4. Review iCloud and Home App Configuration
Incorrect account settings can prevent discovery.
-
Verify iCloud for Home: On your iPhone, go to Settings > [Your Name] > iCloud and ensure the toggle for Home is enabled.
-
Reinstall Home App: Delete the Home app, reinstall it from the App Store, sign in, and retry.
Tips to Prevent Setup Issues
-
Keep your iPhone close to the HomePod Mini during the entire process.
-
Use a personal, non-restrictive Wi-Fi network.
-
Ensure all devices are running the latest software.
-
Use the primary Apple ID that manages your home in the Home app.
Frequently Asked Questions
Q: Why does setup keep failing with “Could Not Connect”?
A: This usually means your iPhone and HomePod Mini are on different networks, Bluetooth is off, or a network setting (like a VPN or client isolation) is blocking communication.
Q: Can I set up a HomePod Mini without Wi-Fi?
A: No. A functional Wi-Fi network is required for activation and ongoing use.
Q: What does a flashing orange light mean?
A: It indicates a software error. You must restore the HomePod Mini using a Mac and a USB-C cable.
Q: Does the HomePod Mini need an Apple ID?
A: Yes, it requires an iCloud account with Two-Factor Authentication enabled for full features and personalization.
Summary
To fix a HomePod Mini not setting up:
-
Confirm all prerequisites (iOS, Bluetooth, Wi-Fi, iCloud).
-
Restart your network and disable VPNs.
-
Reset the HomePod Mini to factory settings.
-
For software corruption, restore the firmware via a Mac.
By systematically checking these areas, you can resolve the pairing issues and complete the setup process smoothly.